
A step-by-step tutorial on binding off knitting on the left side for symmetrical edges
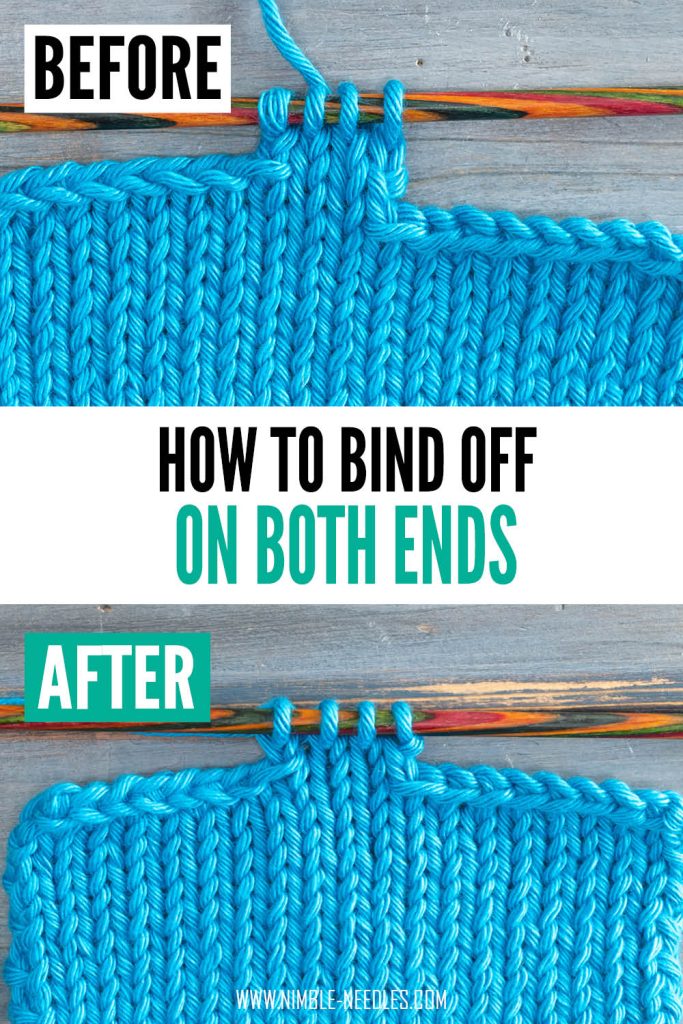
I’m sure you’ve been there before. You need to bind off stitches on both ends of your project (e.g. the armholes for a sweater). If you use a standard bind-off, you end up with one side that is higher than the other because you can only use that on the wrong side. To avoid that step, you can employ a simple trick to bind off on the left side as well.

Essentially, you have to create preliminary floats on the backside as you knit across the rest of your row, and then pass over stitches from the other end without actually knitting them until you hit the center again.

Here’s how:
Note: I earn a small commission for purchases made through links in this article.
Instructions: How to bind-off on the left side of a project

This technique works for all patterns and projects. Essentially you are creating preliminary floats on the backside to drag the working yarn back to the middle. As a result, this method to bind-off on both sides symmetrically works best for an even number of stitches.
Instructions
- Bind off the normal way on the right side, knit across the center, and stop knitting right at the position where you want your bind-off to end.
E.g. You need to bind off 8 stitches, then stop knitting 8 stitches before the edge.

- Pull out a sizeable length of your working yarn and create a big loop. Twist the loop counter-clockwise so the bit connected to your working yarn ends up laying on top.

- Pick up the end of the loop directly connected to your project as normal.

This should trap the loop between your working yarn and the project.
- Knit one stitch loosely. The end of the loop should stay below.

- Bring the loop to the top.

- Then knit one stitch loosely diving in below the loop you've just brought up.

- Bring the loop down again.

- Knit another stitch very loosely making sure to trap the loop below.

- Repeat steps 6-8 until you come to the end of the row. The last stitch should be a stitch where you bring the loop up to knit below it.

- Turn your project around. There should be a sizeable loop hanging down from the edge, while your skein is attached to the middle of your project/row.
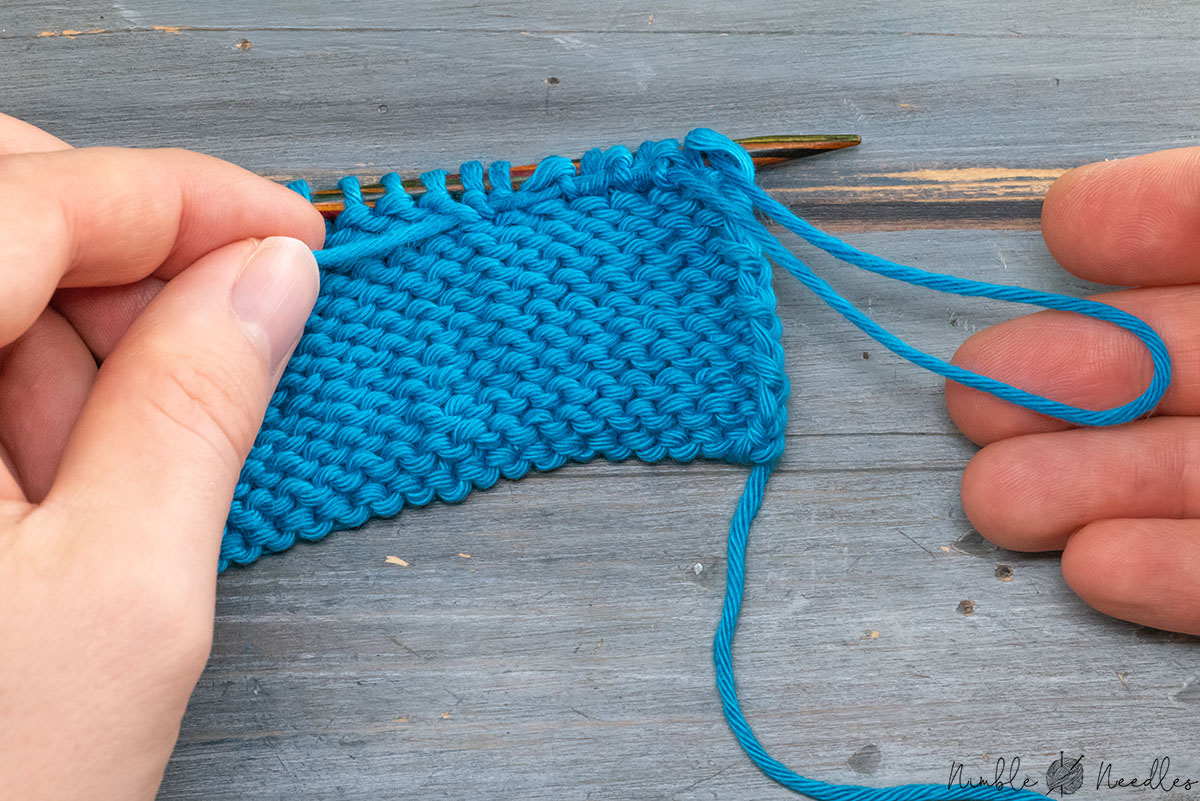
- Pull on the working yarn/the yarn directly connected to your skein to close the loop. Don't pull too tight lest your project puckers.

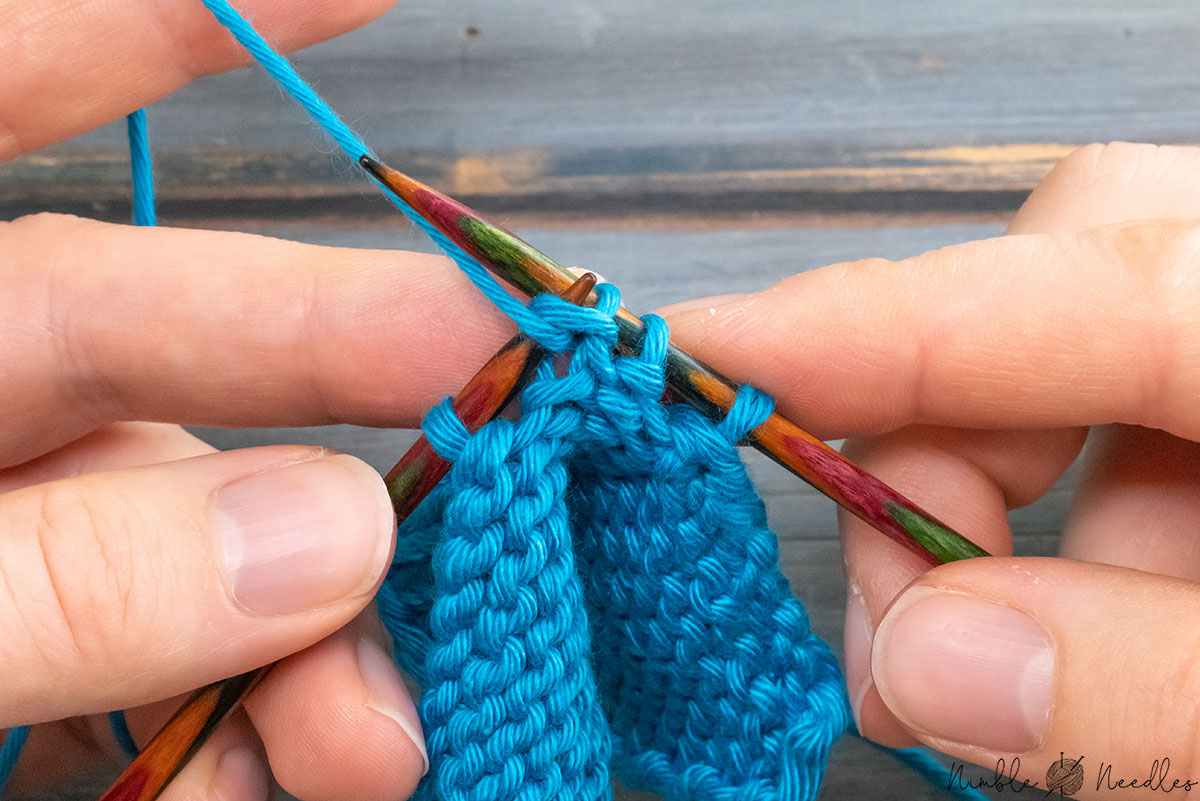
- Pick up your project again and slip two stitches purlwise.

- Then, pass over the second stitch on your right needle over the first one. Just like when you do a standard bind-off - just without actually knitting into the stitches.

- Slip one more stitch purlwise.

- Next, pass over the (new) second stitch over the first one.

- Repeat steps 14+15 until you reach the point where your working yarn is dangling down.

- Pick up your working yarn and purl one stitch.

- Pass the second stitch over the first stitch one last time.

- And continue working according to your pattern.
Notes
It's very important that you knit across quite loosely as you trap the loops above and below your stitches. Otherwise, your edge will end up quite a bit too tight and you will have problems passing the loops over one another.
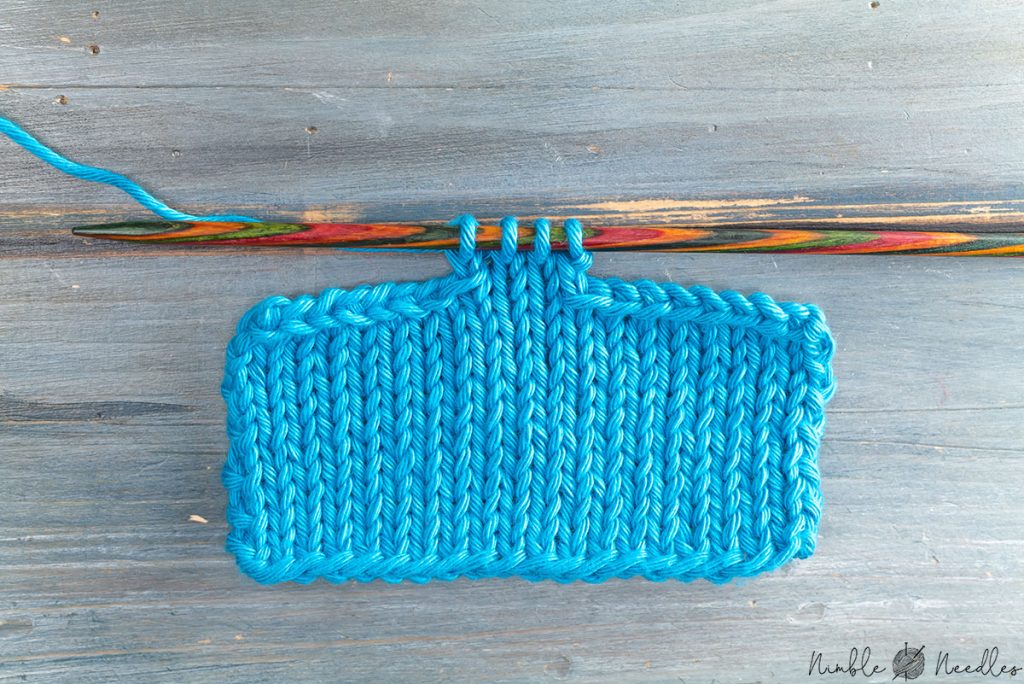
The result of this technique should be two edges that are absolutely level without a visible stair/difference in height. Please be aware that, in creating these floats on the backside, you are essentially reinforcing the fabric a bit. As a result, there will be a noticeable difference in terms of the stretchiness. This is more or less unavoidable.
Please also consider that this technique is actually not really needed for a lot of projects. For example, when you bind off stitches for the armholes of a sweater, the left side of your edge will be one row higher – both for the front and the backside. Since you are typically seaming things together with the wrong sides facing each other, the difference will even itself out. You are always seaming together one short edge with one long edge.
Especially if you are knitting in a finer gauge, I am not really sure it’s worth going the extra mile. In most cases (and after seaming) the difference will be almost unnoticeable.
Anyway, that’s how to bind off on both ends. Comment below if you still have any questions.
Thank you for this tutorial, it’s super helpful! Is there a way to do this purlwise?
certainly. It more or less works the same but uh..i don’t have the time to do a tutorial now.
No worries! Thank you for your response, I think I can figure it out based on what you said. Much appreciated!
What a great tutorial. Well written and easy to understand.
Thank you for sharing
Not sure if this is the right place to comment but you are talking armholes for a sweater…. 🙂
My sweater is knit in the round and then, at the armholes level, becomes front and back, no longer in the round. My pattern will later pick up stitches in order to start the sleeves (so joined from the start, no need to sew up). In order to make that picking up of stitches easy and/or neat, how should I end my rows? Slipping? Knitting/purling in the back loop?
Thanks,
Ken
London
It’s definitely not related to this post and I do talk about seamed sweaters. For picking up stitches, I always just knit a stockinette stitch selvage. but that’s a personal preference. slipping will always create holes.
Great, I’ll look it up.
Thanks,
Ken